Wednesday, January 11, 2012

Fabric Flowers...Learning the Fundamentals

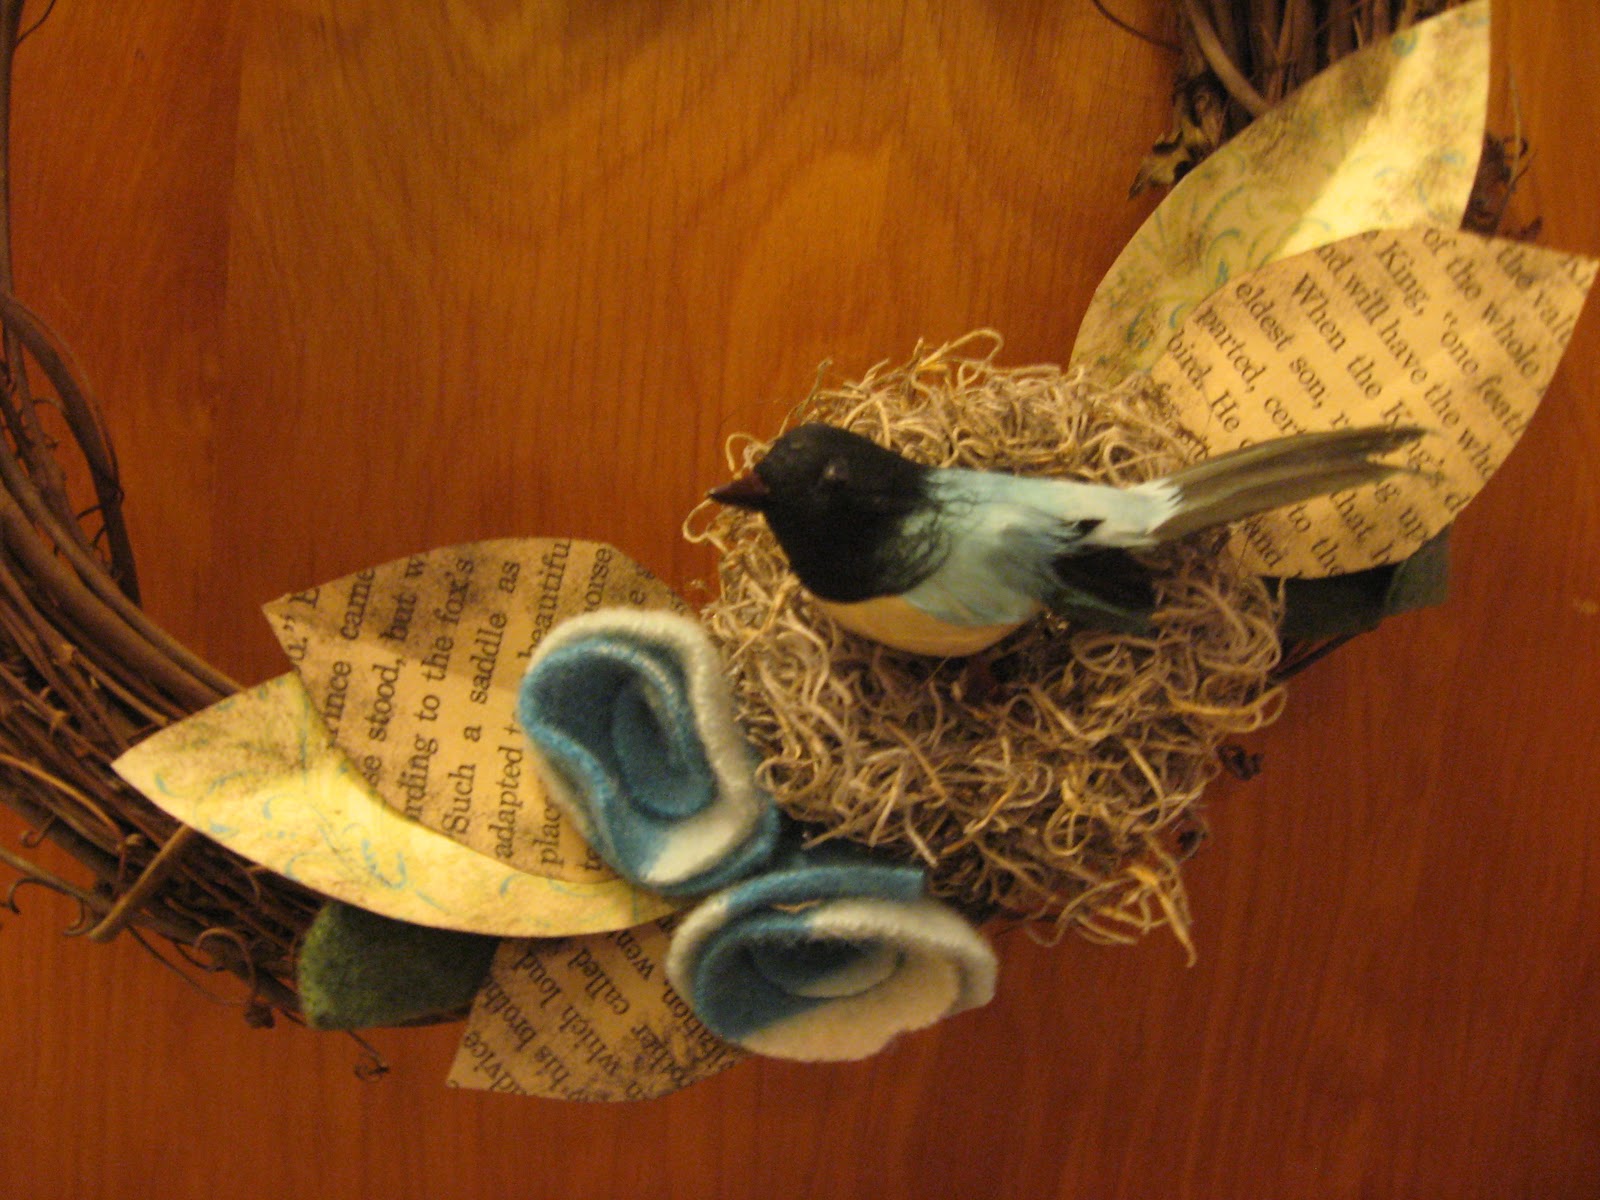
I've wanted to make a bib-style necklace for some time now. It's the fabric flowers that call to me. The differing textures and color combinations make my visual senses react in a way that is comparable to the heightened sense of smell. The "fragrance" of the fabrics is almost always overwhelmingly delicious!

I guess that's why I actually enjoy making the flowers more than making the necklaces themselves.

Over the holiday, I learned a few important things about making fabric flowers that I thought I'd share.

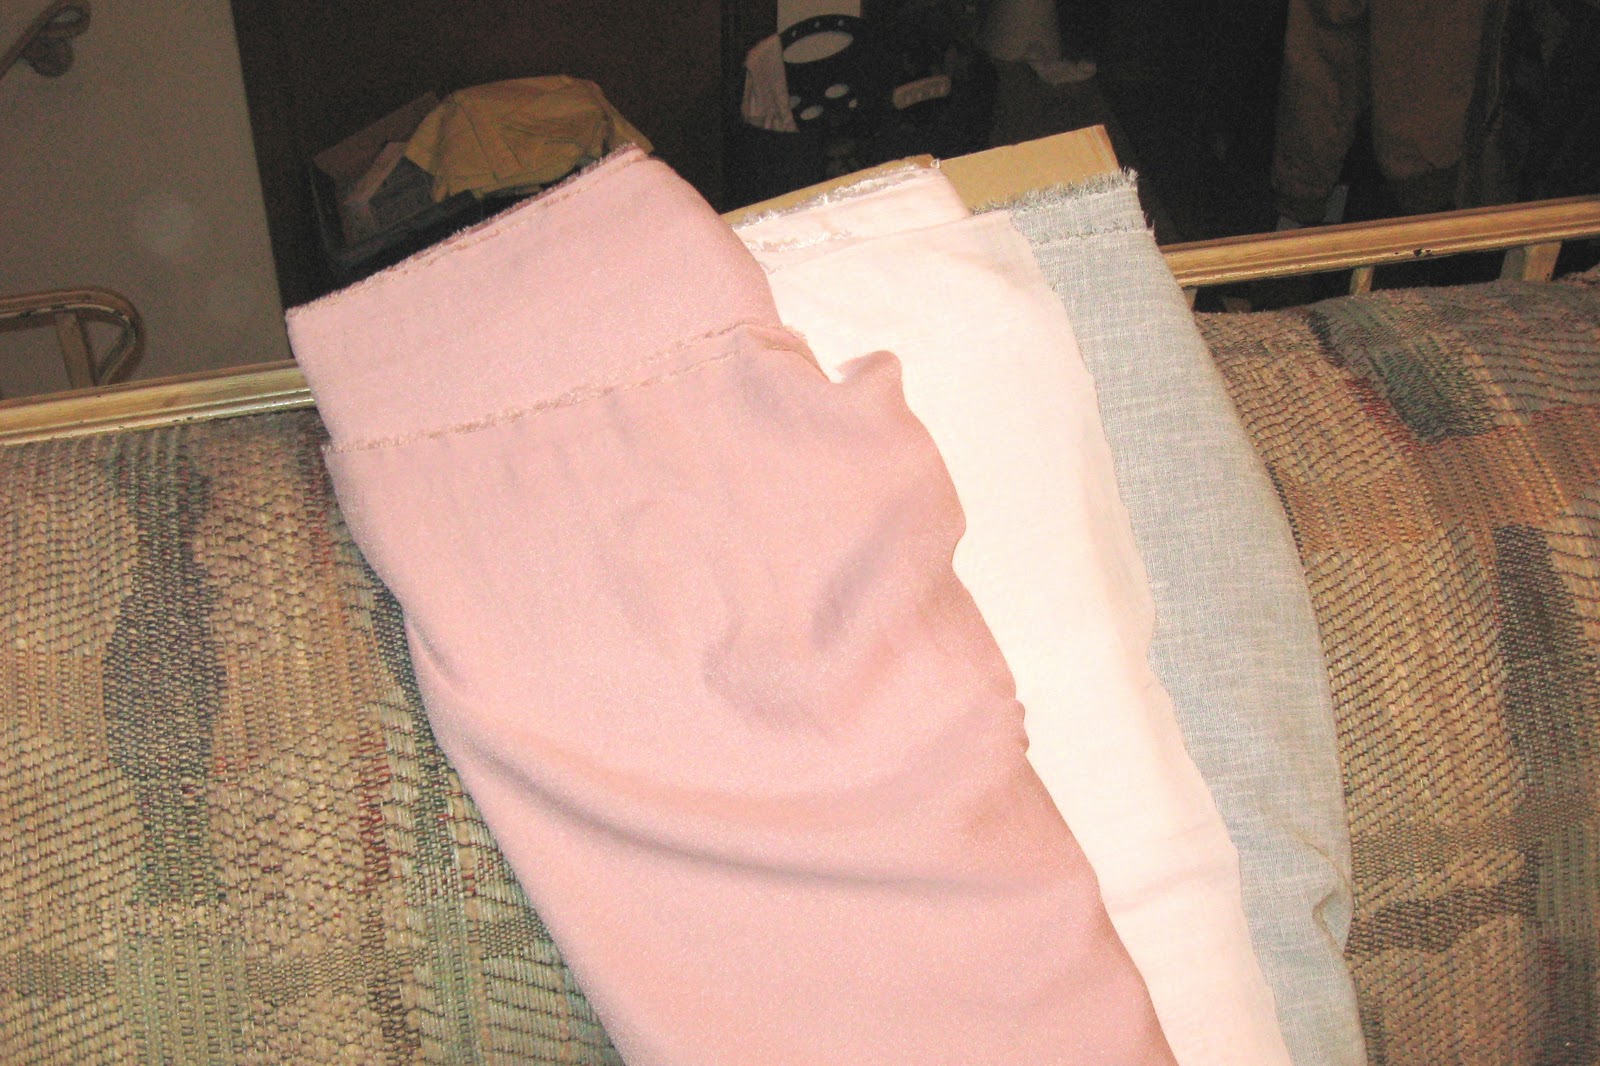
1. Buy your fabrics by the bolt (in the remnants section of the store). Once I got started, I found it easier to work w/one fabric at a time. Each tulle, netting, cotton, satin, etc. has it's own little "trick" and cutting strips of fabric by the yard all at one time just made more sense to me.

2. Beacon is the Best! I repeat: Beacon is the Best! I tried nearly every tacky, fabric, (and non-fabric) glues and adhesives I have (or didn't have until recently) and I LOVE Beacon's Fabri-Tac. WARNING: You may loose a layer of skin though. It is VERY adhesive and will coat your fingers if you're not careful. (But then again, when I began to sew the necklaces, I built up my "quilter's calluses" again anyhow.) You can find it here: http://www.beaconadhesives.com/cgfab.html

Don't go crazy w/the glue though! Just a dab will do...plus, you might want to be able to sew through later and a thick application will stop the needle.

3. Find color-combo inspirations! I really like paint swatches but then I Design-seeds website: http://design-seeds.com/index.php
I use PINTEREST.com to collect my "swatches" and then "pick" my flowers based on the color-combos I really like.

4. Limit your number, not your fabrics/sizes/or textures. I hate flower arranging. I'm too "symmetrical" about the entire process, which can make my arrangements for the bib necklaces difficult. For mine, I decided upfront that I would place no more than eight, no fewer than five fabric flowers on any necklace. (That includes tulle flowers.) Then, I picked from my "swatch-box" (see #3 above) blindly, and took it from there.

Tuesday, January 10, 2012

More Monster High Clothes

   After tonight's sewing frenzy, I believe I need to get back to work. Between creating bib-style necklaces, sewing MH clothes, revising my Nano-novel, family and work, I've managed to neglect all the basics of household management! (At least my neices' dolls will no longer need to wear the same clothes day-after-day...a doll's life can really stink at times...)

   I figured I'd go ahead and post the images of the pieces that I'm actually passing on to the girls after today. I've found all the wonderful people and postings at the Monster High fanpages extremely helpful. I've managed to slice and dice a few of the "patterns". Hopefully, during the next snowday (HA!) I'll get a chance to create the next new "Monster" creation!
Enjoy!
                       

(Above: "Blue Glam" and "Now Where Did I Put Those Keys?")
(Below: "Jillian M. makes me do extra ab work" and the newest set of MH doll-clothes)


Sunday, January 1, 2012

Monster High Doll Clothes... Not the Typical Post


WARNING! This is NOT my typical “MAGGISPATZ” post!
This is craft born of necessity!

Monster High Doll Clothes
Apparently, the hot item for elementary girls this season is the Monster High dolls. At first, I admit, I didn’t see the charm. Then I Googled! As an avid doll collector myself, I immediately was drawn to the posing and dramatic possibilities these dolls have. But as I soon found out, they have no clothes. (Well…Mattel is offering very little.)

Of course, what’s a girl to do then?

Make some clothes! So….I volunteered to make a few things for my nieces’ dolls. It didn’t take long to realize that they are odd dolls indeed. Narrow. No make that SUPER narrow shoulders and chests with huge, twisty guts and butts.

Some clothes are simple. Skirts. (I’ll post some of those later.) But pants and tops are really tricky.
I used a pants pattern from here: http://go-monsterhigh.livejournal.com/6180.html
but found that I needed the elastic to be “too” loose so that it would fit over the dolls’ big hips or else, Velcro as seen in the pictures below. (I do like the jeans though!)


After a few callused fingertips, I decided to look for a smaller pattern on fabric. Then, WALLA! It hit me. Baby socks! A trip to the local Wal-Mart was necessary to purchase the items I decided I needed (Salvation Army will be my next supplier) and then a few cuts and stitches later, one awesome little dress was born.

I’ve outlined the steps I followed below with the pictures. I hope this helps. 

Step 1:
Cut  off the “toes” of the sock. I like the striped socks best because I can “eye-ball” it rather than measure. Just be sure to cut only the “toe”.
Step 2: After you have the “toes” off, turn the sock inside-out. Fold the sock in half side-ways. Not the natural fold, so that the heel becomes a pointed “extra”.

Step 3:  Mark a straight line about 1/4 inch from the point. This will be your stitch line. Again, on a striped-sock, I simply followed the stripe. Stitch straight across. Then, cut off the point close to the stitch line.
  
Step 4: Using little-girls’ hairbands, cut one open and tie into a slightly smaller loop. Slip this elastic loop over the “top” of the sock (where you cut the toe off.) Fold over a scant 1/4 inch and stitch around, enclosing the elastic band. (I had to use you my fingers of the hand opposite my “sewing hand” to keep the stitches constant and the band even with the sock. (Again, notice how much easier it is with a striped sock!)
   

Step 5: Turn the dress right-side out. (first pic is the back, last is the front) I bought these appliques at Wal-Mart as well! Use the smaller ones at the base of the dress. (Follow the instructions on the package).
     
 
Doesn't Goulia look awesome? :) 

Sunday, October 23, 2011

More Crafting with Books! (And still w/only 1 Paperback!)

Honestly, only 1 book and I have more crafting to go! The first pb I ripped to shreds was "The Horse Whisperer". Nothing against the book itself--it was the right price and the cover will work for yet another project (to be revealed on another day).
This weekend, I worked on my ornaments and a plaque. Luckily, I had purchased just the right plaque at Salvation Army months ago! (For under $1!) I knew then that it would be repainted or re-surfaced, but I wasnt' sure at the time exactly how I would change it.


The ornaments started from crafting glass ornaments that I purchased at Micheals. A bit of Modge-Podge, glitter and glue and a few hours later...presto!
The plaque is simply pages from the book, letters I cut using the Cricket, and two of my "instant family" that I keep on hand.

Sunday, October 16, 2011

It's Almost Halloween!...and I'm carving "BOO"ks!

It almost seems strange that I would be carving books when my sister and her girls finished carving their pumpkins today. But then again, 'tis the life of a crafter...

In November, I'm presenting a "Friends of the Library" program on repurposing and crafting with books (book pages, book spines, maps etc.). I'm not shy about my love of cutting up pages and tearing about books, sorting scraps into piles and modge-podging them into new creations. (Someday I'll expound on my love of Dover paper dolls and the benefits of scissors-therapy.) Although typically, I've left this type of paper-crafting for my own, personal look-books and knicknacks. The "Friends" program is shaping up to be a bit more than I initially planned.
Which leads me to where I am now-- experimenting with some of the left-overs that I salvaged from the library book sale.

It took two tries at this "Golden Delicious" fall apple. Don't let the pictures fool you. A really good, new, sharp Exact is required and a bit of muscle doesn't hurt. I'm always thankful that my kitchen has one of those old, build-in cutting boards.


First, I found an image of an apple that I could easily half for my pattern. I split my paperback book into two sections. (About 150 pages each).
With my pattern on cardboard, I secured it to one half of the book with a thick binder clip.
Once the entire shape was cut away, I fanned the pages out, gluing and securing the ends together. I chose to used a yellow simply because I didn't have a red. (Next time!)
Finally, I glued in a piece of grape-vine and tied ribbon and netting for flare!


My primary resource for my most of my paper projects is the book I am using as reference during my "Friends of the Library" presentation. Playing with Books by Jason Thompson.

Saturday, September 24, 2011

And another Wreath!


Tried another wreath this evening. I used pages from my $600 Anne of Green Gables book (at least that was the value before I so enthusiastically tore the pages out!), a men's shirt, lace, odds-n-ends beads and one of my "instant family" portraits. The finished wreath is off-center, or -the way I see it- demonstrates my "learning curve"! I like where this one hangs in my back bathroom, so I'm thinking it will stay there for now.

Friday, September 23, 2011

Tearing Apart Books: Making Wreaths


Thank goodness I washed the dishes and cleaned the kitchen counter off so that I could make this wreath! With a few bits of paper scraps, old felted sweaters and help from good ol' Micheals, this beautiful wreath went together in no time. Idea "lifted" and inspired by this site's version: http://www.gracelaced.com/2011/01/13/diy-paper-and-grapevine-wreath/